10 Reseller Must-Haves I Actually Use Every Week

Simple tools that make photographing, listing, shipping, and organizing inventory

1. Flexible Measuring Tape

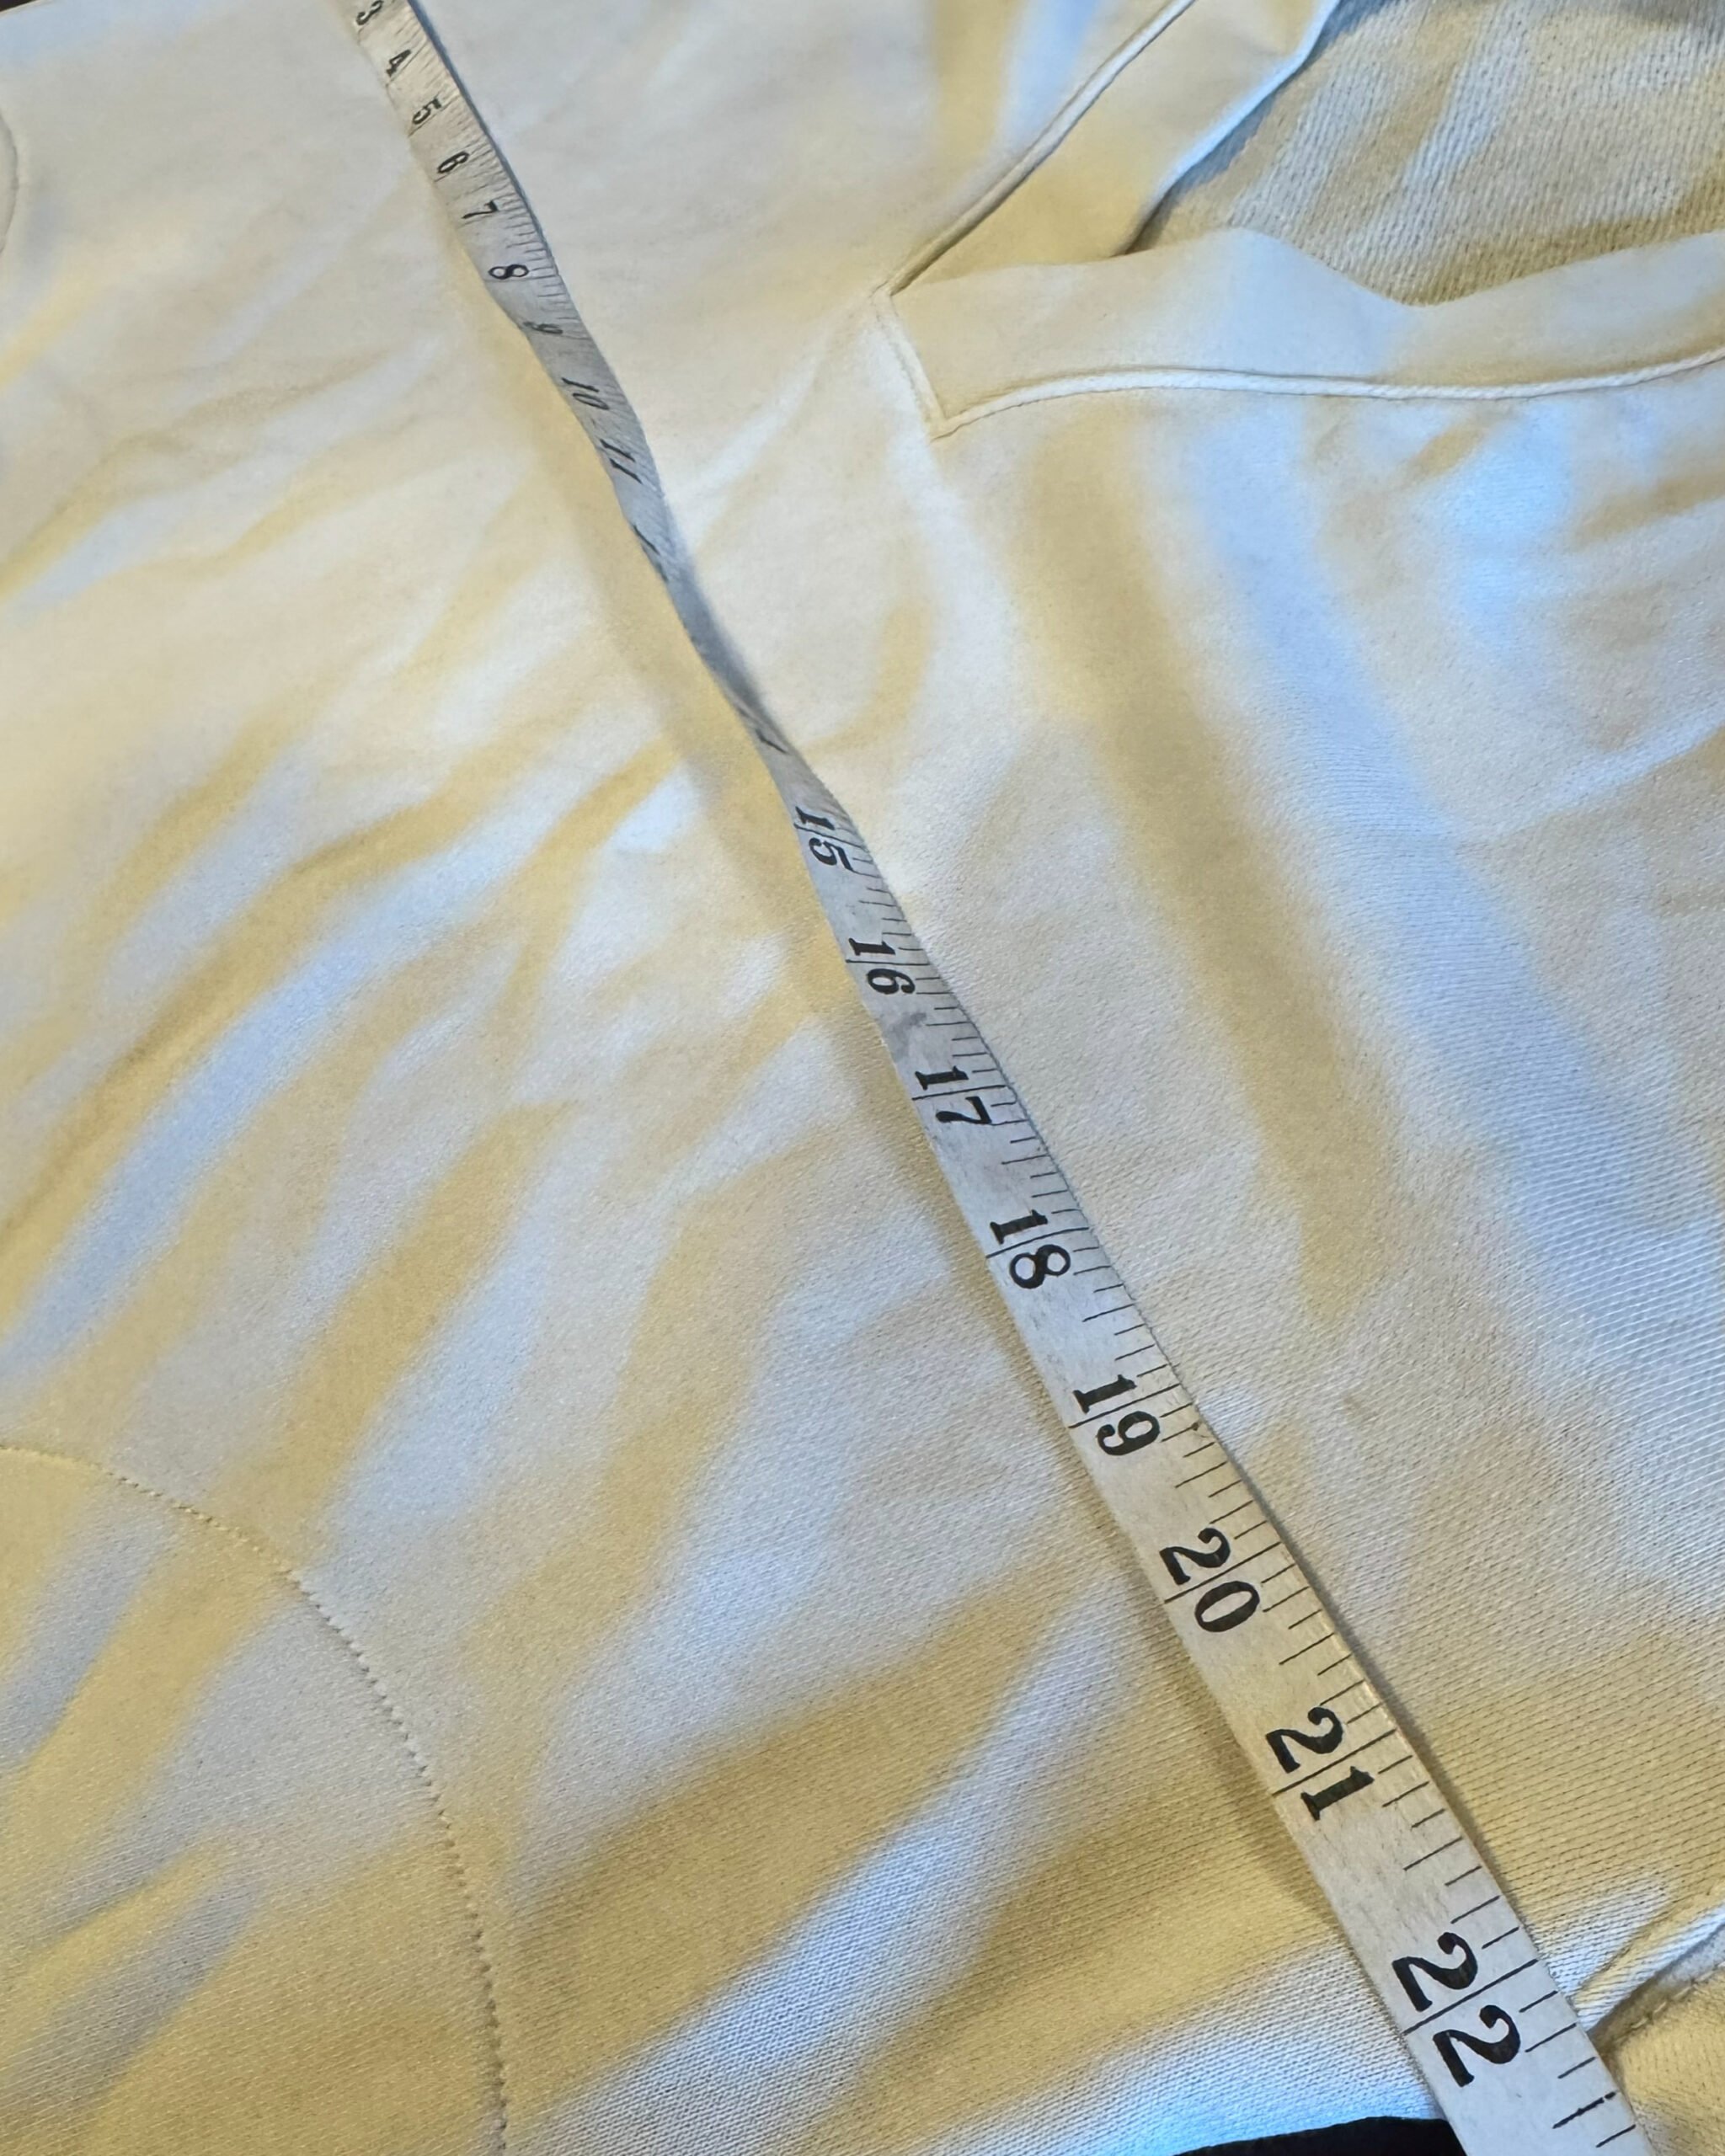
A flexible measuring tape is one of the reseller tools I use most often. Since sizing can vary between brands, styles, and production years, including actual garment measurements helps buyers understand fit more clearly than the size tag alone.

Adding measurements can also reduce buyer questions and fit-related returns. For tops, sweaters, jackets, and dresses, I usually include pit-to-pit and length. Depending on the item, I may also include sleeve length, shoulder width, waist, hips, rise, inseam, or leg opening.

I take measurements while the item is laid flat and note that all measurements are approximate. Keeping a tape nearby makes the listing process faster and more consistent.

My Tip: Keep one measuring tape at your photography station and another near your shipping table so you always have one within reach.
View Measuring Tape on Amazon
Flexible measuring tape placed across a garment to show the pit-to-pit measurement
A clear measurement photo gives buyers another way to confirm the garment’s approximate size.

2. Self-Seal Clear Poly Bags

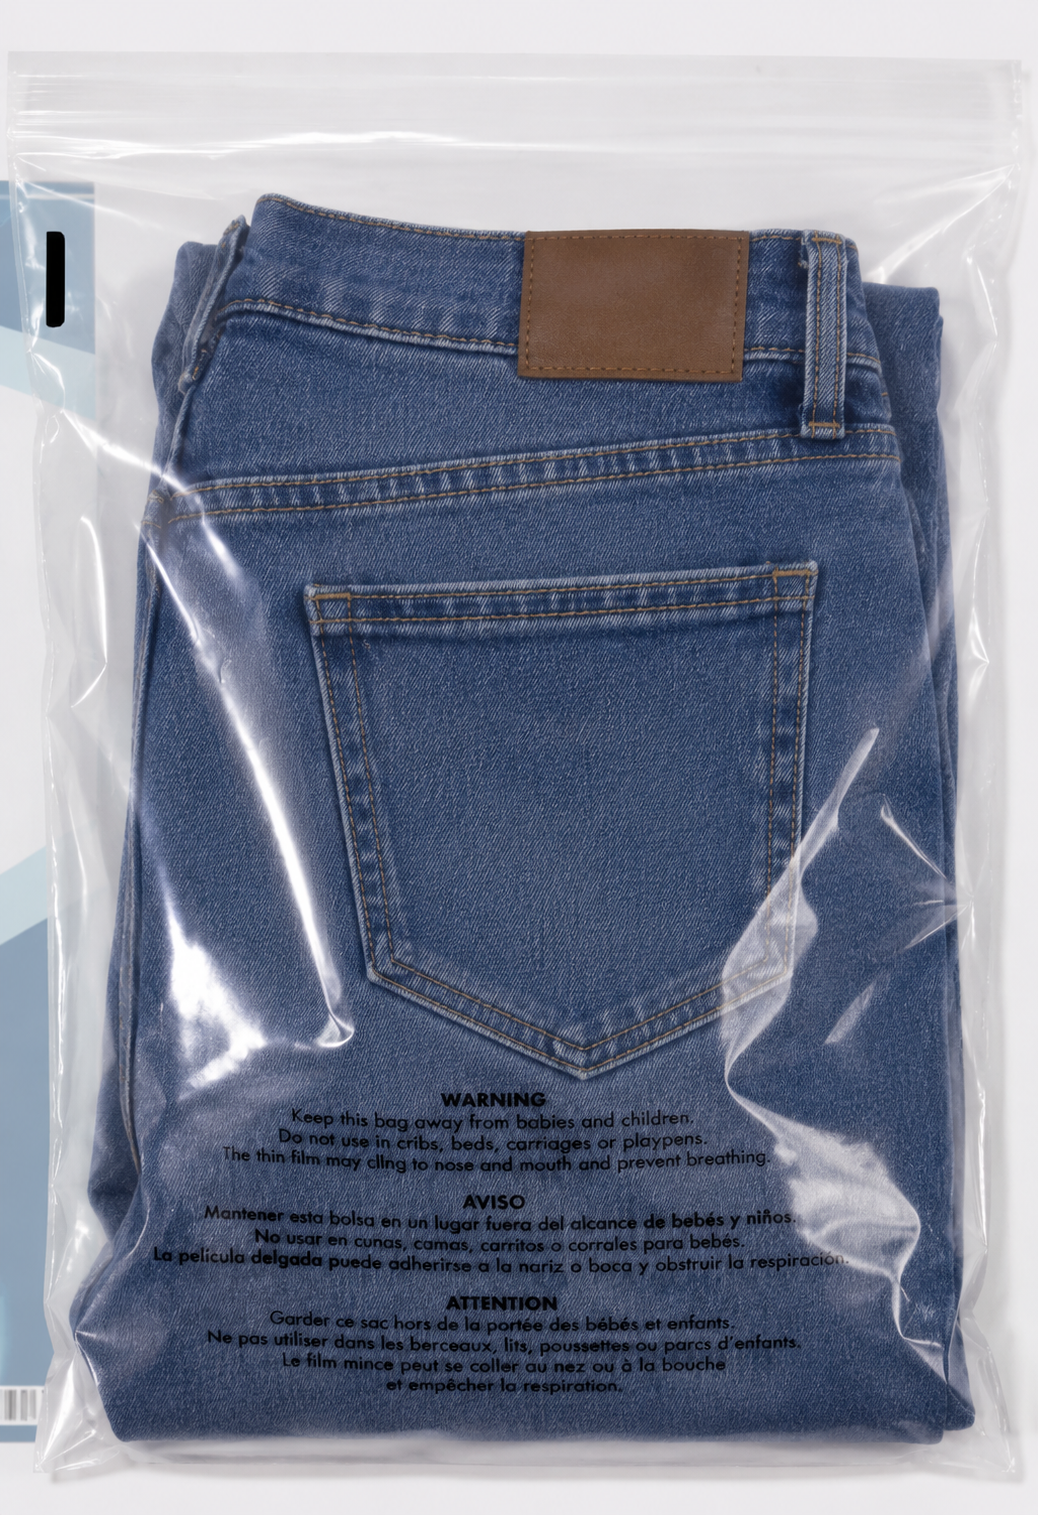
Clear self-seal poly bags help protect clean inventory from dust, moisture, pet hair, and handling after it has been photographed and listed. They also make stacked or shelved inventory look much more organized.

Once an item is measured and neatly folded, I place it inside a clear poly bag and add an inventory sticker. When the item sells, the sealed bag goes directly into a shipping poly mailer. This keeps the item protected throughout the storage and packing process.

The 11-by-14-inch size works well for many shirts, sweaters, leggings, and other folded garments, although I keep several sizes available for bulkier pieces.

My Tip: Press excess air out of the bag before sealing it so the packaged item takes up less room in your inventory bins.

View Clear Poly Bags on Amazon
Folded reseller inventory stored inside clear self-seal poly bags
I bag each folded item before adding it to my organized inventory system.

3. Shipping Poly Mailers

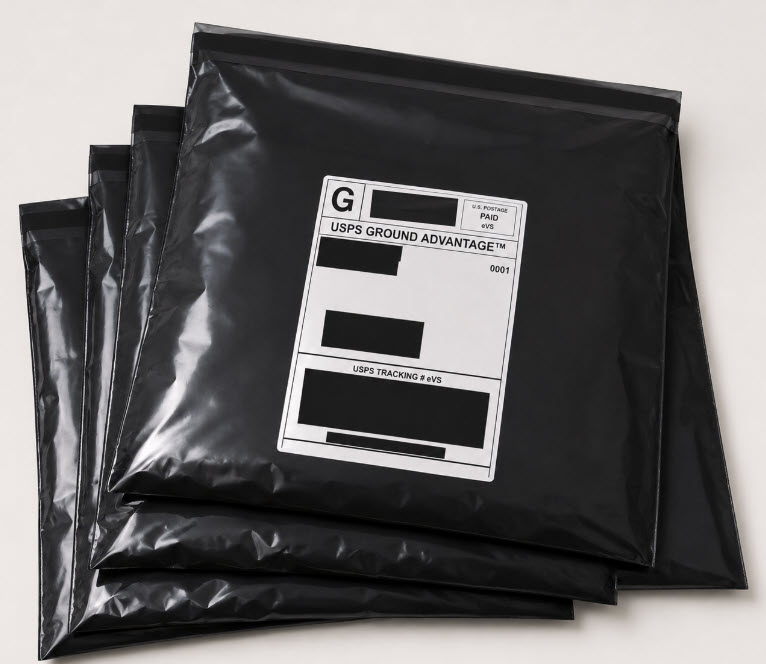
Shipping poly mailers are lightweight, water-resistant, and easy to store, making them a practical choice for mailing clothing and other soft goods. They add an outer layer of protection without adding much weight to the package.

Because my inventory is already stored inside clear protective bags, packing an order is simple: I locate the item, check it one final time, and place the sealed bag inside the shipping mailer. This keeps my packing process quick and consistent.

I keep several mailer sizes on hand so I am not forcing bulky clothing into a package that is too small or using an oversized mailer for a lightweight item.

My Tip: Fold the adhesive flap over only after confirming that the correct item and packing slip are inside. Those seals are impressively unforgiving.

View Shipping Mailers on Amazon
Reseller shipping poly mailers arranged beside packaged clothing inventory
A small assortment of mailer sizes helps me package different types of clothing neatly.

4. Clear Packing Tape

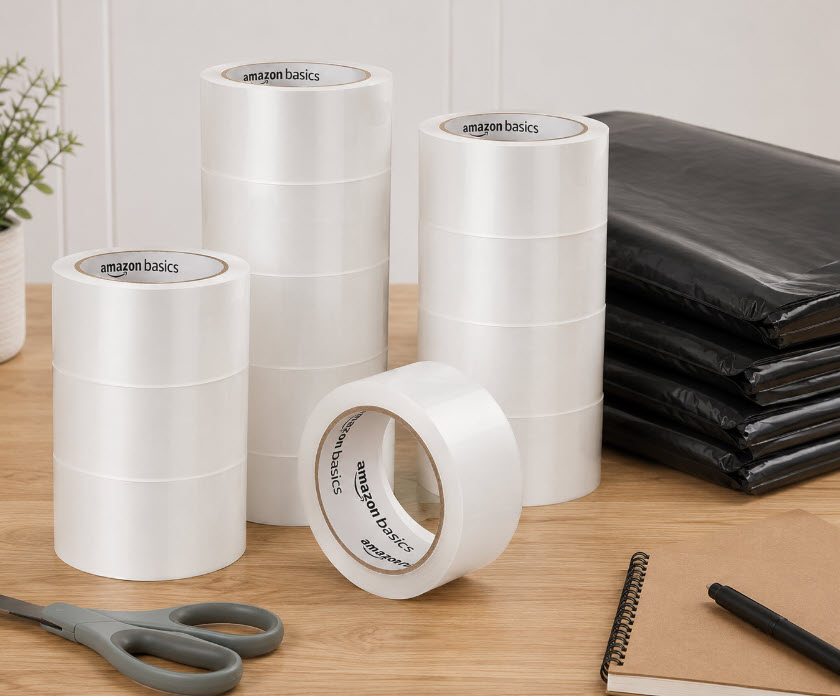
Clear packing tape is a basic supply, but it earns its place in my reselling setup because I use it for boxes, labels, and occasional package reinforcement. A sturdy dispenser makes the job faster and keeps the tape from folding back onto itself.

I use enough tape to close the package securely without wrapping the entire box like it is preparing for reentry into Earth’s atmosphere. Clean, straight tape lines look more professional and are easier for the buyer to open.

Good tape also matters when shipping heavier items in cardboard boxes, where weak adhesive can lift during transit.

My Tip: Keep an extra roll near your shipping station. Running out halfway through packing orders is a tiny inconvenience with astonishing dramatic potential.

View Packing Tape on Amazon
Clear packing tape and tape dispenser at a reseller shipping station
A reliable tape dispenser makes sealing boxes faster and cleaner.

5. Fabric Shaver

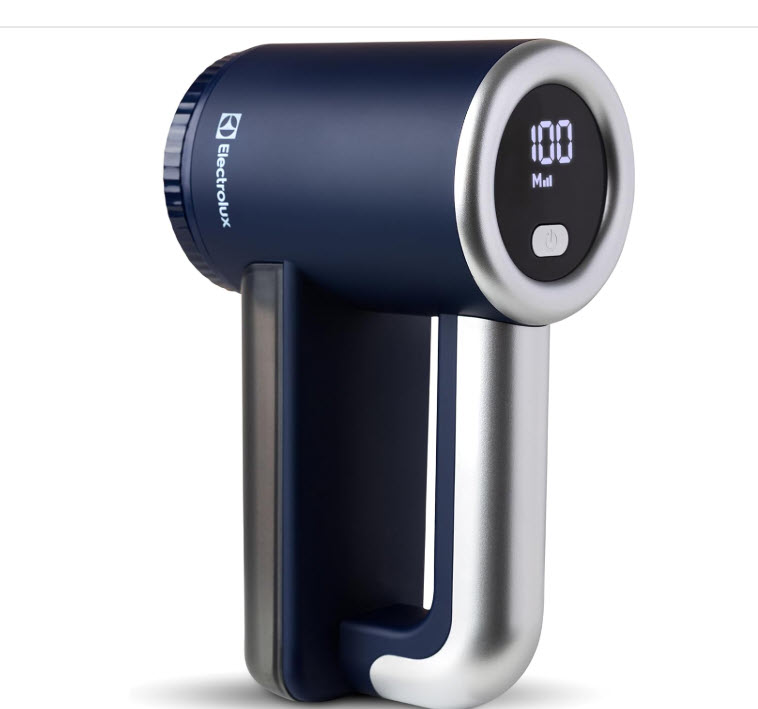
A fabric shaver can give sweaters, coats, sweatshirts, and other knit items a noticeably cleaner appearance by removing surface fuzz and pilling. It does not make a worn item new, but it can help reveal the true condition of fabric that still has plenty of life left.

I inspect the garment first, then work slowly over flat areas while avoiding loose threads, seams, embroidery, lace, and thin fabric. After shaving, I photograph and describe the item’s remaining condition honestly.

This small preparation step can make photos look more polished and help buyers better see the color and texture of the fabric.

My Tip: Test the shaver on a hidden area first and use very light pressure. More enthusiasm is not always more helpful here.

View Fabric Shaver on Amazon
Fabric shaver being used to remove pilling from a sweater
A fabric shaver helps remove surface pilling before an item is photographed and listed.

6. Digital Shipping Scale

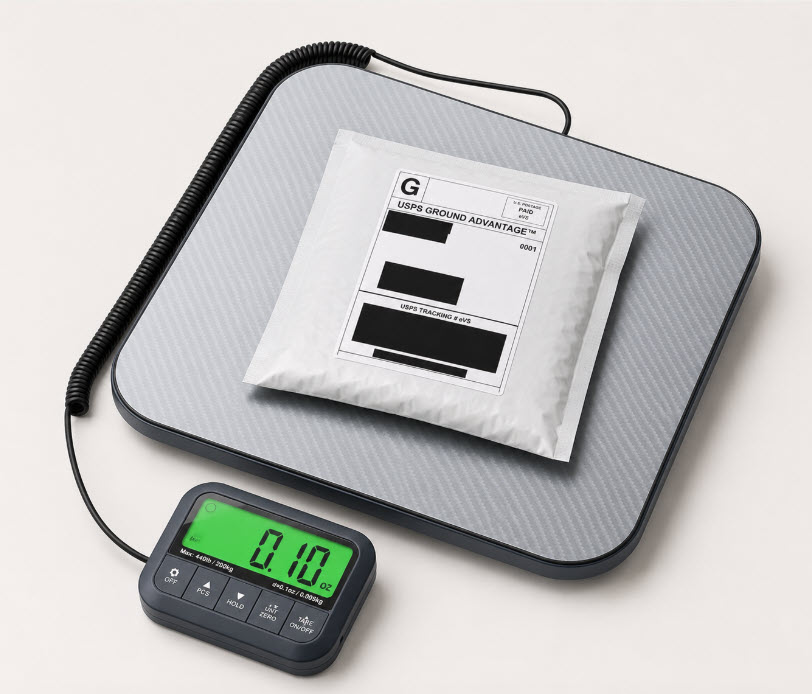
A digital shipping scale helps me enter accurate package weight when creating a listing or purchasing a shipping label. Accurate weight matters because underestimating can lead to postage adjustments, while overestimating may cause me or the buyer to pay more than necessary.

I weigh the item after it is completely packed, including the clear bag, mailer, box, tissue, and any other packing materials. This gives me the closest estimate of what the carrier will actually receive.

A scale with a clear display and a tare function is especially useful when the package is large enough to cover the screen.

My Tip: Round according to the shipping platform’s instructions and recheck heavier packages before purchasing the label.

View Shipping Scale on Amazon
Digital shipping scale displaying the weight of a packaged reseller order
I weigh the final sealed package rather than the unpackaged item.

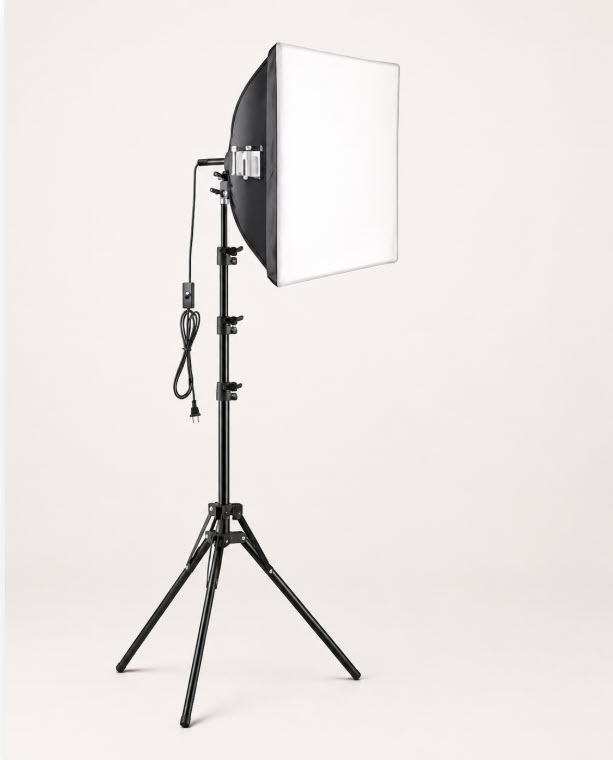
7. Photography Lighting Kit

Consistent lighting helps buyers see an item’s color, texture, shape, and condition more clearly. Natural window light is wonderful when it is available, but a basic lighting kit allows me to photograph inventory even when the weather or time of day is not cooperating.

I position the lights so they illuminate the front and sides of the item without creating harsh shadows or glare. This is particularly helpful for dark clothing, textured fabric, handbags, and shoes.

Good lighting reduces the amount of editing I need to do later and helps my listings maintain a more consistent appearance.

Lighting is a "nice to have" but it's not required if you have a space with good lighting. I photograph in the garage so it's helpful to have extra lighting when it's dark.

My Tip: Use the same photography location and light placement whenever possible. Consistency is much easier to maintain than reinventing the sun for every item.

View Lighting Kit on Amazon
Photography lighting kit positioned around a reseller clothing photo area
Even lighting makes garment details and condition easier for buyers to evaluate.

8. Hangers

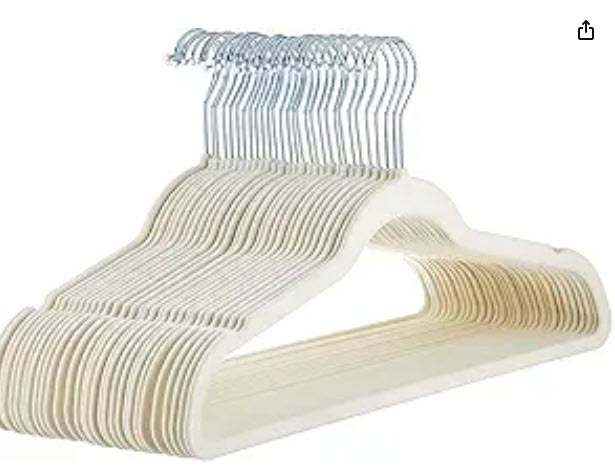
A simple hanger can make clothing photographs look cleaner and more consistent. I use hangers to show the natural shape of jackets, blouses, dresses, sweaters, and other garments that do not photograph as well when laid flat.

Using the same style of hanger throughout a batch of listings creates a cohesive appearance and keeps the focus on the item. Sturdy wooden hangers work well for heavier pieces, while slim plastic hangers are lightweight and easy to store.

I avoid hangers that are too wide for the garment because they can stretch the shoulders or create an inaccurate silhouette.

My Tip: Keep a few clip hangers available for skirts and pants, and check that the clips do not leave marks on delicate fabric.

View Hangers on Amazon
Matching wooden clothing hangers used for reseller photography
Matching hangers help product photos look cleaner and more consistent.

9. Smartphone or Camera

You do not need an expensive professional camera to create good reseller photos. A modern smartphone can capture clear, detailed images when it is paired with good lighting, a steady hand, and a simple background.

I photograph the front, back, labels, material tag, measurements, closures, details, and any flaws. Buyers cannot hold the item before purchasing, so the photo set needs to answer as many questions as possible.

I make small adjustments to brightness and color when needed, but I avoid editing that changes the item’s true color or hides its condition.

My Tip: Clean the camera lens before every photo session. It takes two seconds and prevents an entire batch from looking like it was photographed through a foggy windshield.

View Photography Accessories
Smartphone being used to photograph clothing for an online reseller listing
Clear, honest photos are one of the most important parts of an online listing.

10. Small Scissors or Nail Clippers

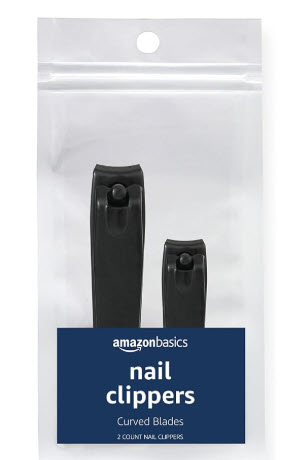
Small scissors or nail clippers are surprisingly useful for carefully removing loose threads, stray fibers, plastic tag fasteners, and other minor distractions before an item is photographed.

The smaller size gives me more control than full-size scissors, especially around seams, labels, buttons, and delicate fabric. I never pull loose threads because that can cause a seam or knit to unravel.

These tools are for careful cleanup only. I do not remove original labels, alter the garment, or hide damage that should be photographed and disclosed in the listing.

My Tip: Cut away from the fabric and stop immediately if you cannot clearly see where the thread ends and the garment begins.

View Small Scissors on Amazon
Small detail scissors used to trim a loose thread from clothing
Small precision tools help clean up loose threads without damaging the garment.
Bonus Upgrade

Rollo Thermal Label Printer

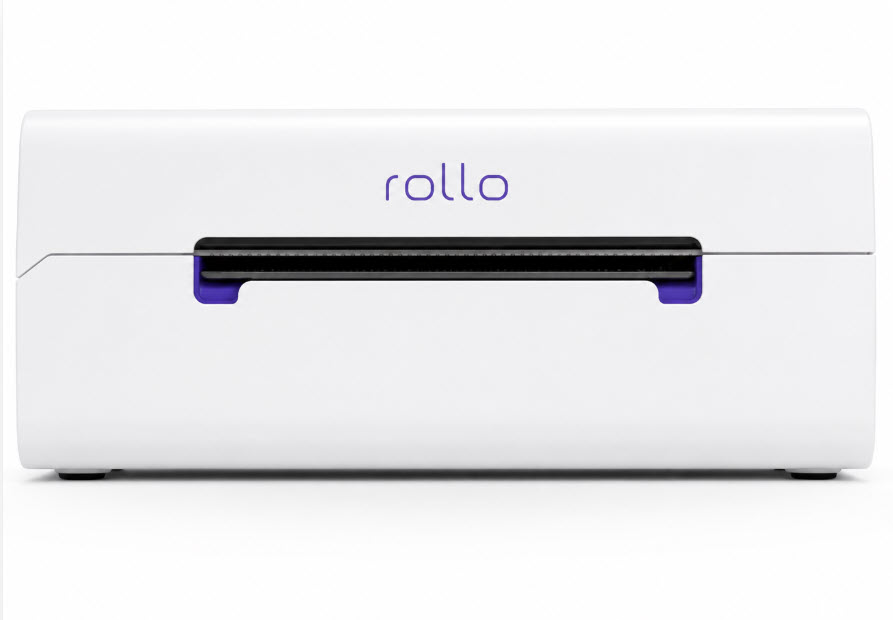
A thermal label printer is not necessary when you are first starting, but it can become a worthwhile upgrade as your weekly order volume increases. It prints adhesive shipping labels without ink or toner, which makes the packing process faster and eliminates the need to cut and tape paper labels onto packages.

I use a Rollo printer for standard four-by-six-inch shipping labels. Once the label is created through the selling platform, I print it, peel off the backing, and apply it directly to the mailer or box.

This is the kind of tool I would add after the basic supplies are covered and consistent sales make the time savings more valuable.

My Tip: Confirm your label dimensions and printer settings before printing a large batch so the barcode stays sharp and easy to scan.

View Rollo Printer on Amazon
Rollo thermal label printer printing a four-by-six-inch shipping label
A thermal printer is an optional upgrade that can speed up a growing shipping workflow.

Stay close to the conversation

Honest reflections, dinner club stories, and gentle nudges for the next chapter — straight to your inbox.

Subscribe

* indicates required

No spam. Unsubscribe anytime.

More Ahead

LIVING

A warm, honest space for women navigating life after kids, faith, financial freedom, and midlife reinvention.

EXPLORE

© 2026 More Ahead Living · All rights reserved

Made with care in the Pacific Northwest