
From Closet to Cash: A Beginner's Guide to Selling Clothes Online
Everything you need to know to turn clothing you no longer wear into extra income, from choosing what to sell to photographing, pricing, listing and shipping your first order.
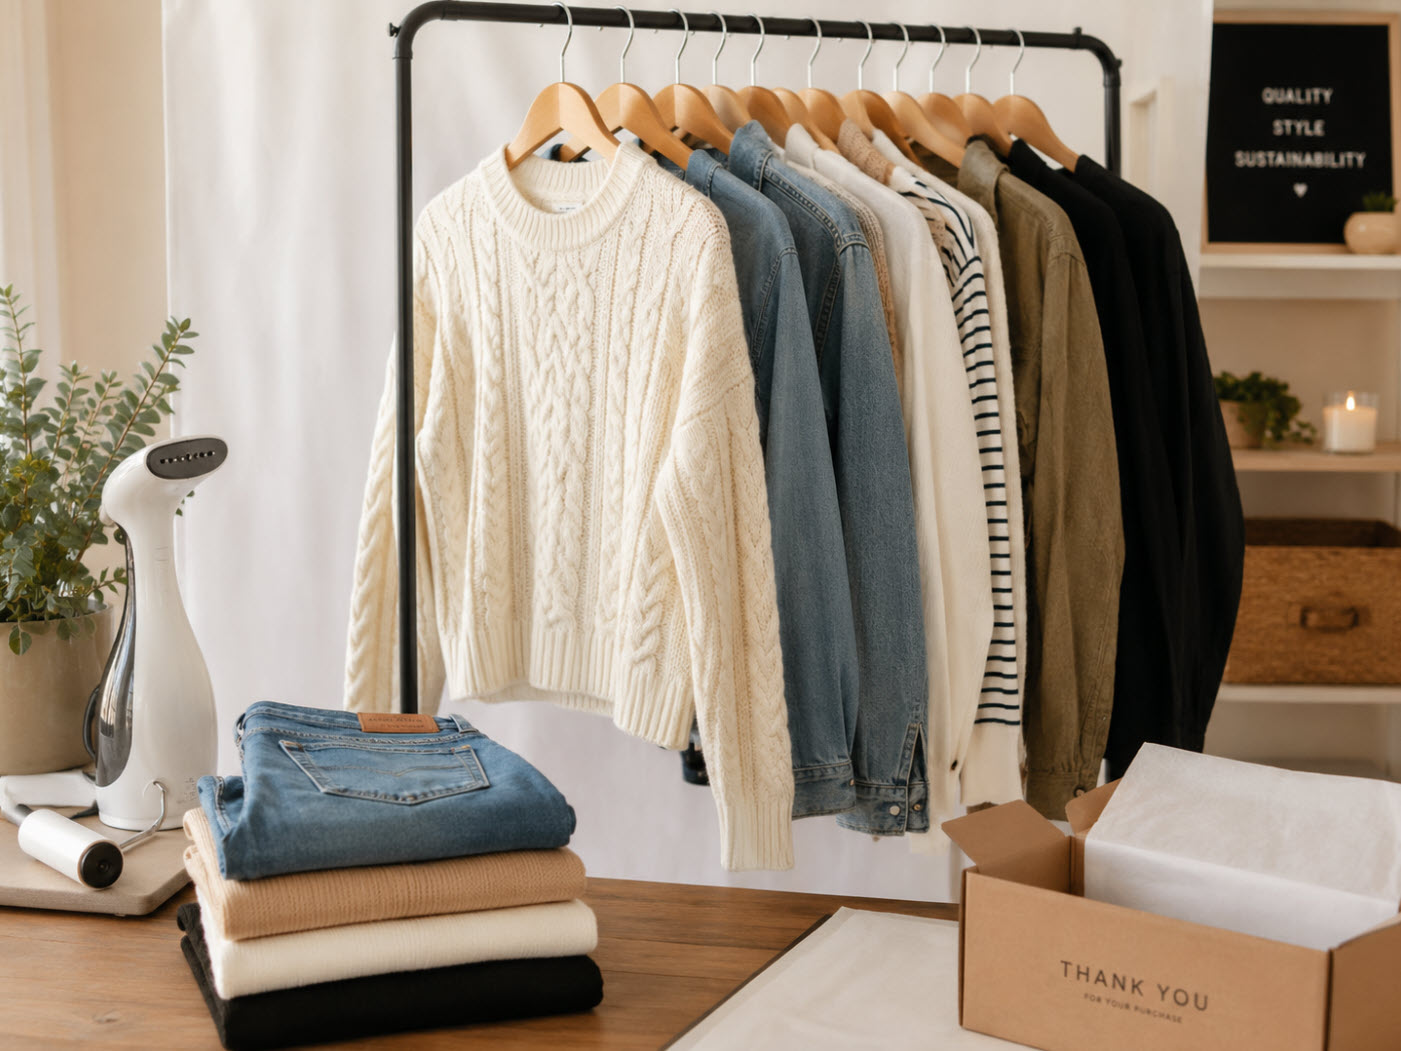
Have you ever looked inside your closet and realized there may actually be money hanging in there?
Maybe it is the jacket you bought and wore twice. Maybe it is the pair of jeans that never fit quite the way you hoped. Or maybe your closet is full of clothes that belong to a different season of your life.
Selling clothing online is one of the easiest ways to start turning things you already own into extra money. You do not need a warehouse full of inventory, expensive equipment or hundreds of listings to begin. In fact, some of the best first inventory is probably already sitting inside your own home.
The part that can feel intimidating is figuring out what happens between pulling something out of your closet and actually receiving money for it.
Where should you sell? How do you know what an item is worth? What photos should you take? Do you really need measurements? What happens when someone finally buys something?
Once you have a system, the process becomes surprisingly simple. Here is the step-by-step process I recommend for taking an item from your closet all the way to your buyer's mailbox.
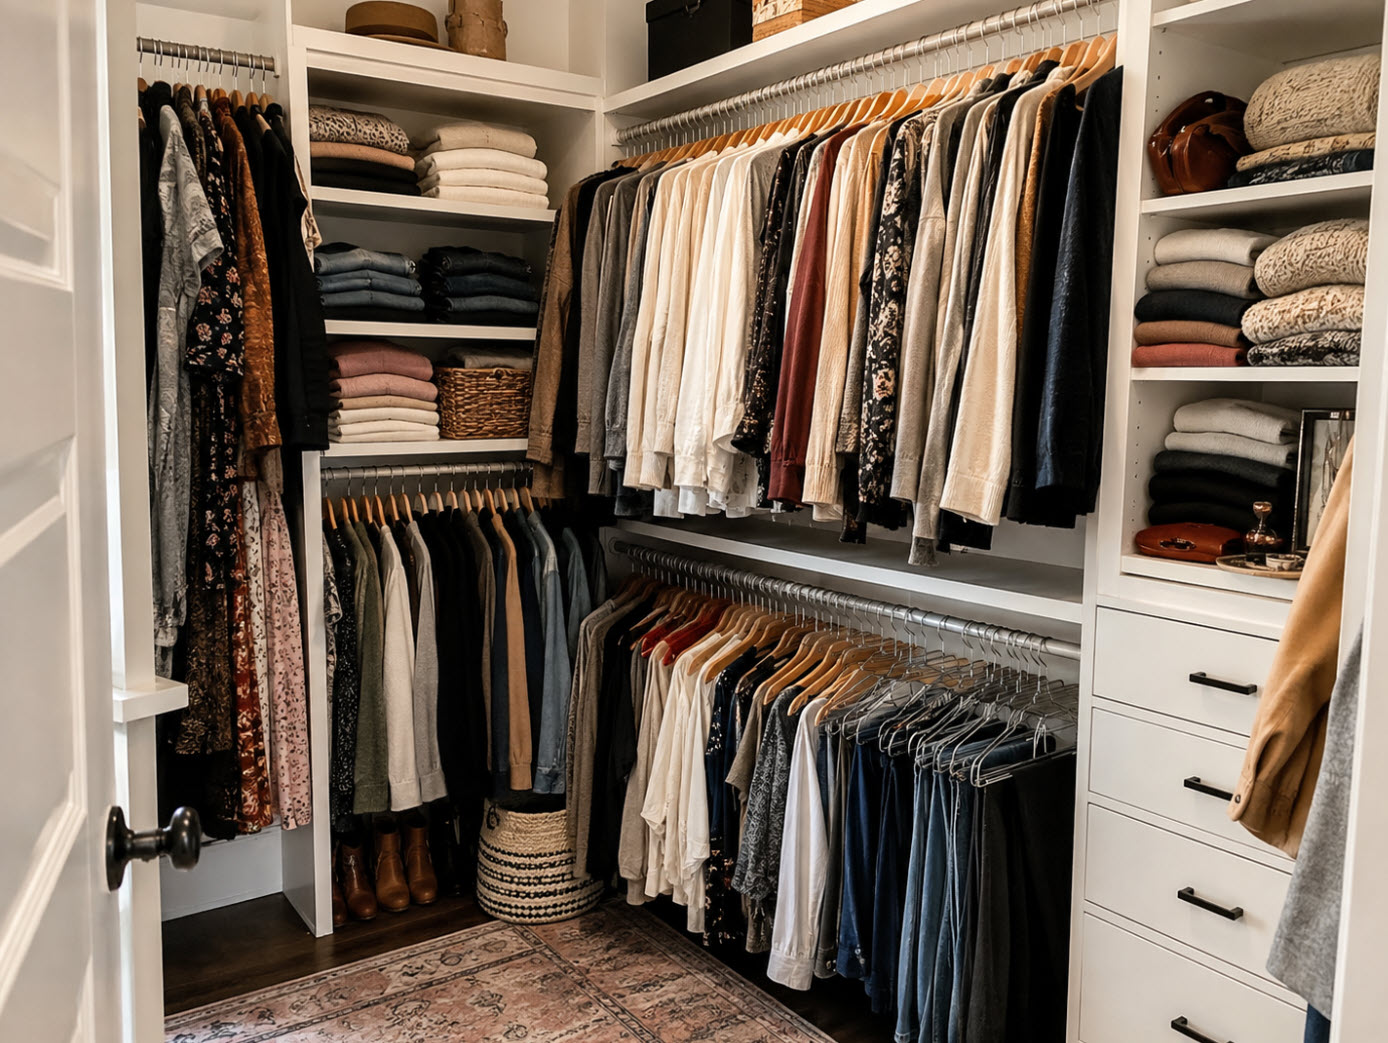
Start With Clothes You Already Own
One of the biggest mistakes new sellers make is assuming they need to immediately go shopping for inventory.
You don't.
Your own closet is one of the best places to learn because your cost of goods is essentially already spent. You can learn how to photograph, research, list, package and ship items without investing additional money.
Start by looking for:
- Clothing in good or excellent condition
- Shoes you rarely wear
- Handbags and accessories
- Recognizable or desirable brands
- Current styles
- Quality basics
- Items purchased but never worn
- Pieces that simply no longer fit your lifestyle
Choose Where You Want to Sell
You do not have to sell everywhere. Starting on one or two platforms is usually easier while you learn the process.
| Platform | Good For | Beginner Notes |
|---|---|---|
| eBay | Clothing, shoes, vintage, collectibles and harder-to-find items | Huge buyer audience and strong search capabilities. |
| Poshmark | Fashion, shoes, handbags and accessories | Easy shipping system and very beginner friendly. |
| Depop | Vintage and trend-driven fashion | Often works best for unique, younger and fashion-forward styles. |
| Mercari | Clothing plus household items | Useful if you plan to sell more than fashion. |
| Facebook Marketplace | Local sales and larger items | Can work well if you prefer some transactions without shipping. |
Eventually, you may decide to cross-list the same item across several marketplaces. But when you are learning, mastering one platform first can keep the process manageable.
Research Before You List
Before deciding your price, find out whether people are actually buying your item.
Search for the same or similar item using the brand, style, size, color and material. Whenever possible, look at recently sold listings rather than relying only on active listings.
An active listing tells you what another seller hopes to receive. A sold listing tells you what a buyer actually paid.
Pay attention to:
- Brand
- Style name
- Original retail price
- Material
- Size
- Color
- Condition
- Recent sold prices
Inspect and Prepare the Clothing
Before photographing anything, inspect it under good lighting.
Check carefully for:
- Stains
- Pilling
- Loose threads
- Missing buttons
- Broken zippers
- Small holes
- Wear around cuffs or hems
- Odors
- Discoloration
Clean or launder items when appropriate, remove lint and pet hair, and steam wrinkles before taking photos.
Helpful Tools for Preparing Clothing
You do not need an elaborate reselling setup, but a few inexpensive tools make preparing inventory much easier.
Clothing Steamer
A steamer quickly removes wrinkles and can make clothing look considerably better in listing photos.
Shop on AmazonLint Roller
One of the simplest and most-used tools in a clothing reseller's workspace.
Shop on AmazonFabric Shaver
Helpful for carefully refreshing sweaters and certain fabrics that develop surface pilling.
Shop on AmazonTake Photos That Help the Buyer Make a Decision
Your photos are doing part of the selling for you.
You do not need a professional photography studio. Natural light, a clean background and clear photographs can go a long way.
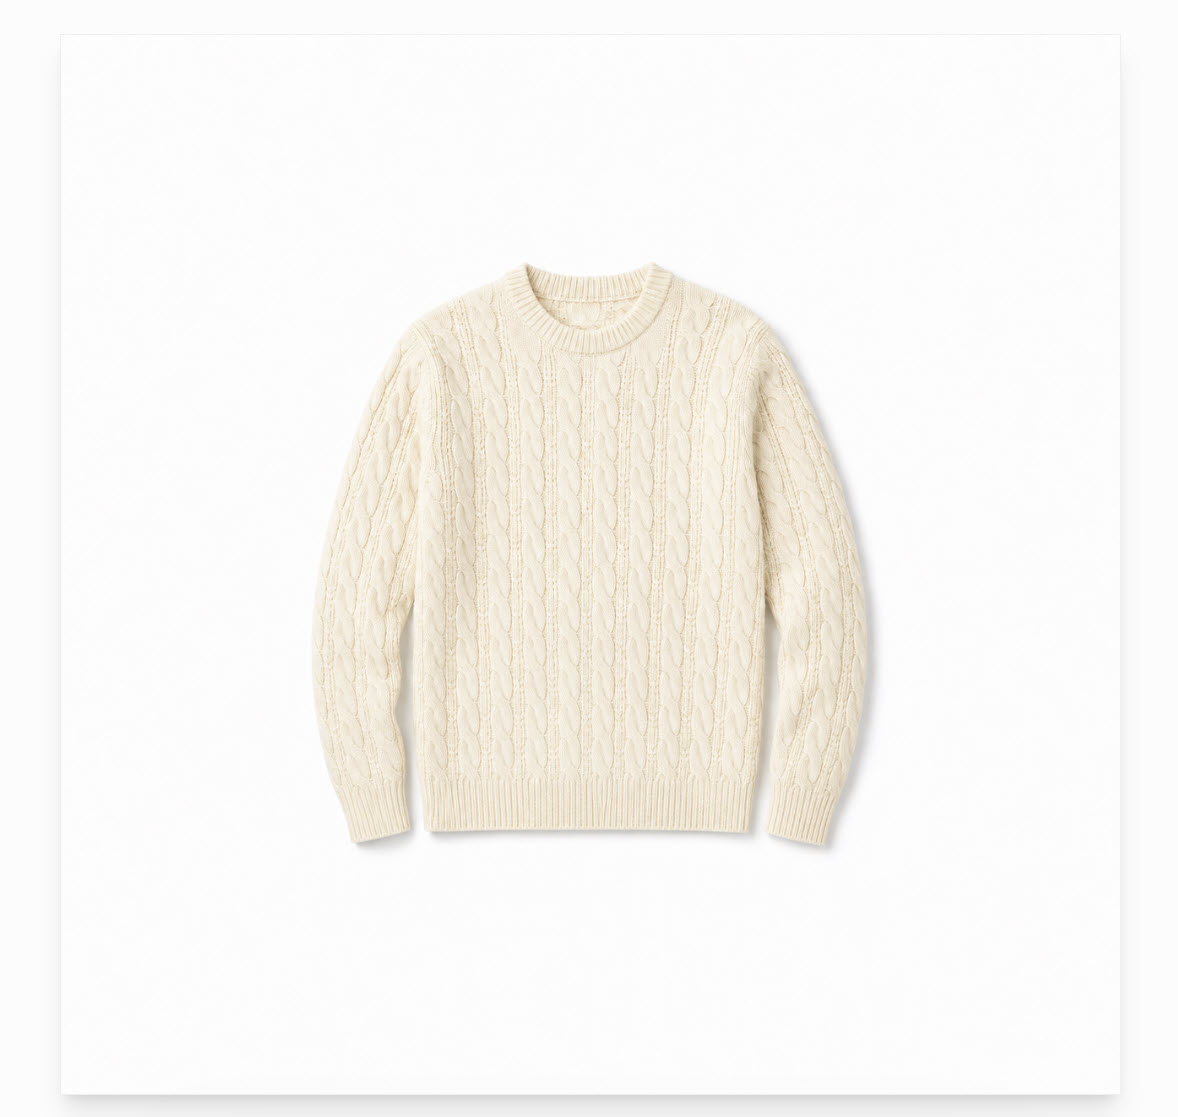
For most clothing listings, photograph:
- The entire front
- The entire back
- Brand label
- Size label
- Fabric and care tag
- Interesting details
- Closures, buttons or hardware
- Fabric texture
- Any flaw or wear
Take Measurements
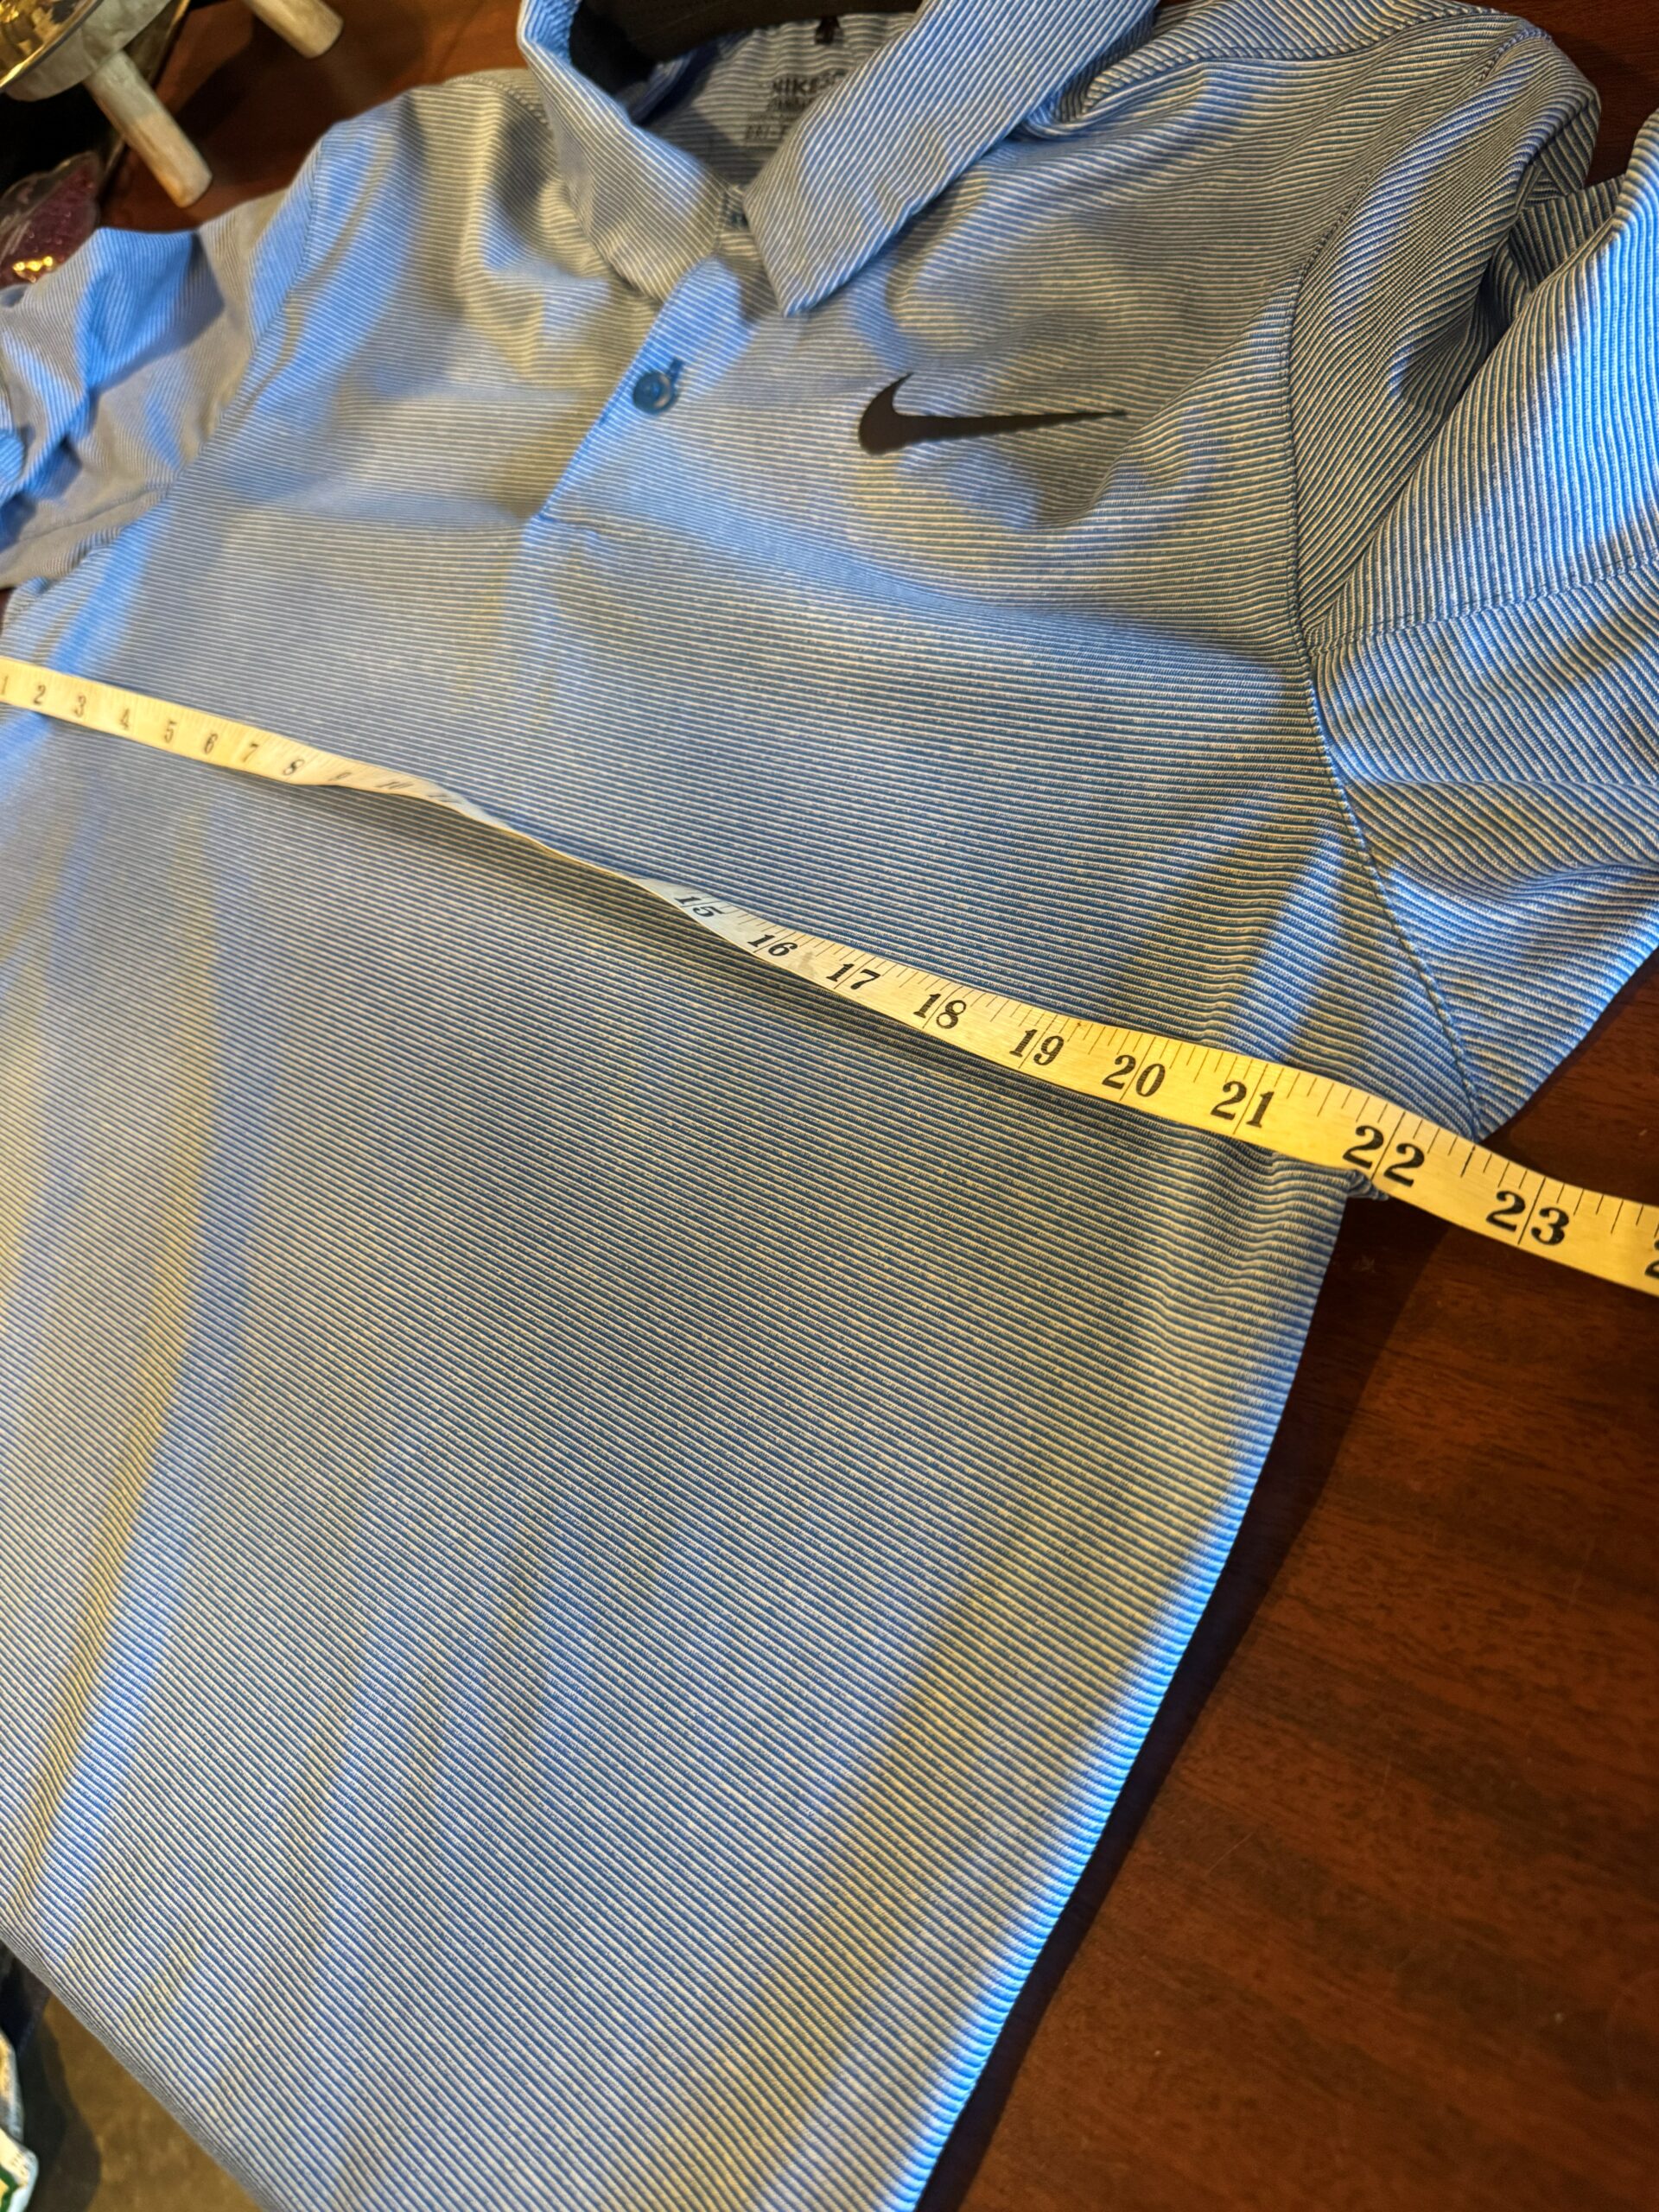
Clothing sizes vary dramatically between manufacturers, and measurements give buyers another way to determine whether something will work for them.
Common Measurements for Tops and Jackets
- Pit to pit
- Total length
- Sleeve length
- Shoulder width
Common Measurements for Pants and Jeans
- Waist
- Hips
- Rise
- Inseam
- Leg opening
I like taking measurements while the item is already out for photographs. That way I am not pulling the same piece out again later.
See My Measuring Tape
Write a Search-Friendly Listing Title
One of the simplest ways to improve a listing is to stop thinking like the seller and start thinking like the buyer.
What would someone type into the search bar if they were trying to find this exact item?
Cute Black Dress
Madewell Black Linen Blend Midi Dress Women's Size Large Sleeveless
A useful title formula is:
Avoid stuffing your title with unrelated words. Your goal is not to use every possible keyword. Your goal is to accurately describe the item using words a buyer is likely to search.
Write an Accurate Description
Your description does not need to be a novel.
A strong description generally includes:
- Brand
- Item type
- Color
- Size
- Material
- Features
- Condition
- Measurements
- Any flaws
Be specific enough that the buyer feels confident about what they are purchasing.
Price the Item Based on the Market
Pricing is part research and part strategy.
Look at your sold comps and decide how quickly you want the item to move.
Quick Sale
Price near the lower end of recent comparable sales.
Market Price
Price close to the average of similar sold items.
Wait for the Right Buyer
Price toward the upper end when the item is particularly desirable, rare or in exceptional condition.
Also remember to account for marketplace fees, shipping policies and the possibility that buyers may send offers.
Create a Simple Inventory System
Once you have more than a handful of items listed, organization becomes incredibly important.
There is nothing quite like the excitement of making a sale followed by the panic of realizing you have absolutely no idea where you put the item.
My Basic Reselling Workflow
- Inspect
- Clean or steam
- Photograph
- Measure
- Create the listing
- Fold the item
- Place it in a protective bag
- Add an inventory number
- Store it in the corresponding bin or location
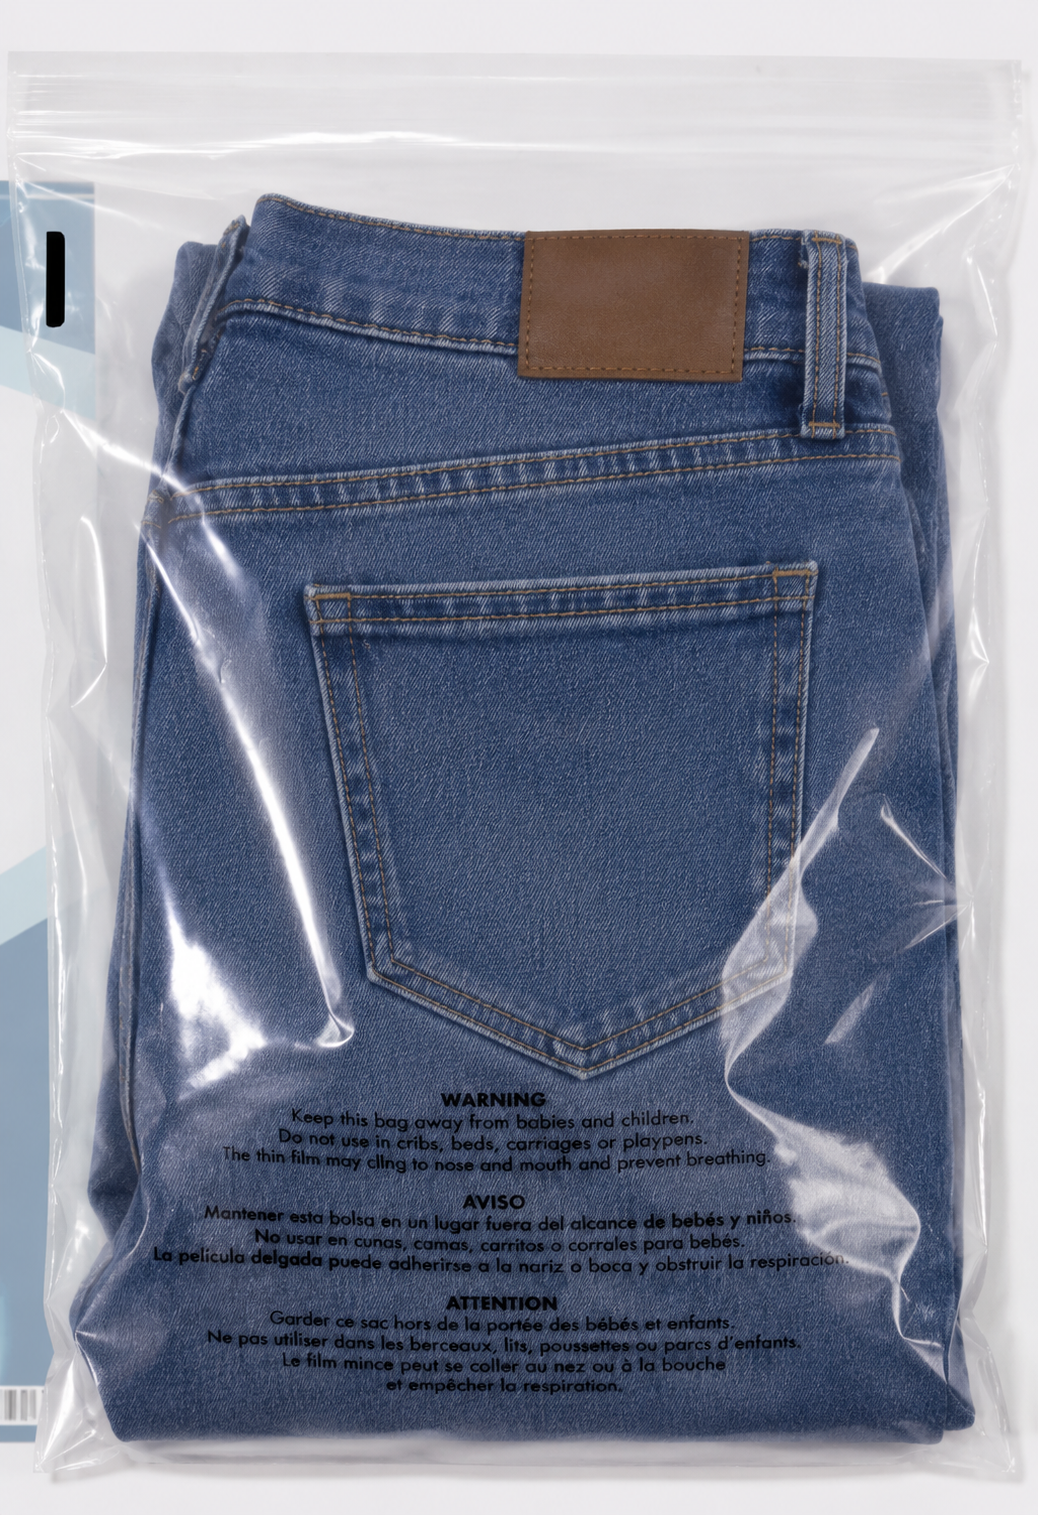
My Basic Reselling Supply Kit
You can start very simply. These are the types of supplies that become especially useful once you begin listing consistently.
Clear Poly Bags
Protect stored clothing from dust, moisture and handling before it sells.
Shop Poly BagsPostal Scale
Helpful for estimating package weight and avoiding shipping surprises.
Shop Postal ScalesWhen It Sells, Check the Item One More Time
Making the sale is exciting, especially when it is your first one.
Before packing the item, compare it with the listing one final time. Make sure you have the correct piece, size and condition.
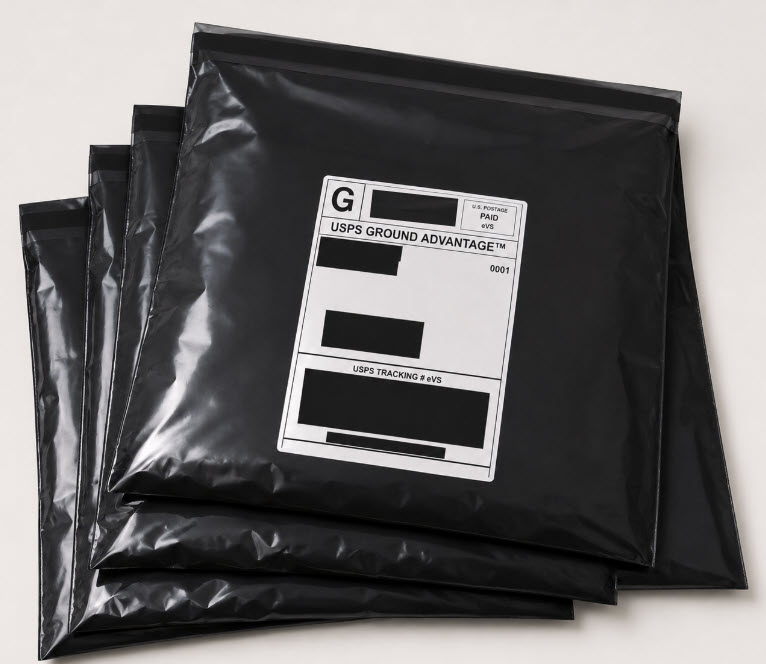
Fold it neatly, protect it from moisture and place it in appropriate shipping packaging.
You do not need extravagant packaging.
Pay Attention to What Actually Sells
If you decide you enjoy selling and want to grow beyond your own closet, this is where reselling starts getting especially interesting.
Do not assume the things you personally love are automatically the things buyers want.
Start tracking:
- Brands that sell consistently
- Categories that move quickly
- Average selling price
- Cost of goods
- Marketplace fees
- Shipping costs
- Actual profit
- How long an item takes to sell
Your own sales history can eventually become one of your best sourcing tools.
Instead of buying inventory based only on what you like, you begin recognizing what your customers are already telling you they want.
The First 10 Items Challenge
Before buying inventory or trying to build an entire reselling business, choose 10 sellable items from your own home.
Photograph them. Measure them. Research them. List them.
Those first 10 listings will teach you more about selling online than spending weeks trying to create the perfect system before you begin.
Download the First Listing ChecklistWant to See All of My Reselling Supplies?
I keep my favorite tools and supplies together so you can easily find the things I use for photographing, measuring, storing and shipping clothing.
Shop My Reselling FavoritesYou Don't Need to Have It All Figured Out
Selling clothing online can start incredibly small.
One jacket. One pair of jeans. One handbag that has been sitting untouched on a shelf.
You learn by listing the first item, figuring out what works, adjusting your process and doing it again.
Maybe your goal is simply to make a little money while clearing space in your closet. Maybe you want extra money for travel, savings or paying down debt. Or maybe those first few listings will introduce you to a side business you never expected to enjoy.
Either way, you do not need hundreds of items to call yourself a reseller.
Start with what you already have, create a simple process and list the first ten.
The rest can grow from there.